sweetalert2-美麗又功能強大的訊息框

撰文時版本 |11.1.2

DowYuu言

又是同一句話,最近滿常用到sweetalert2,來記錄一下,嘿嘿。
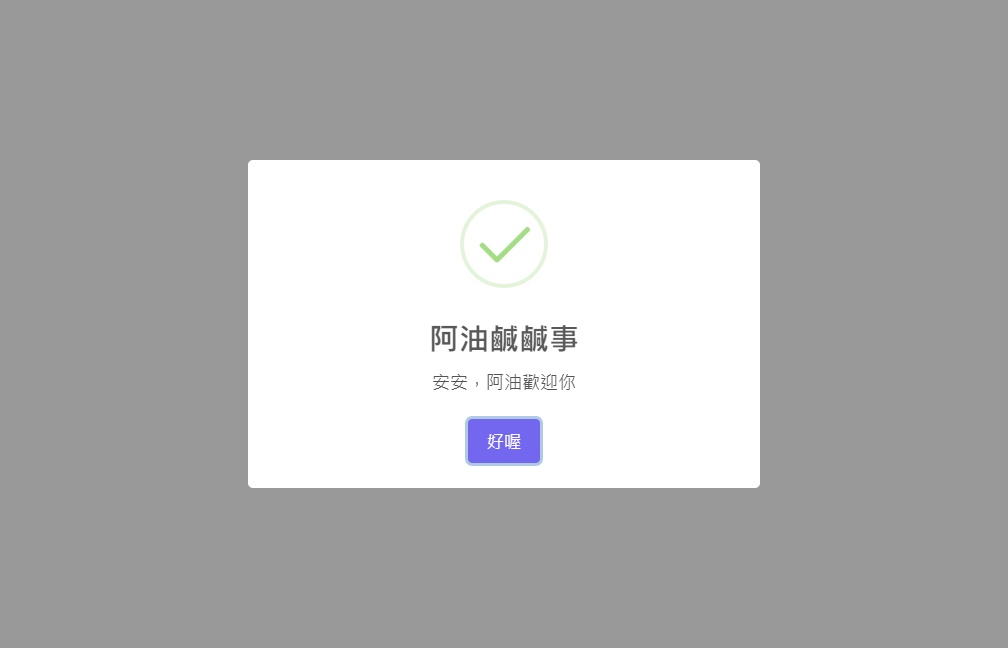
sweetalert2

下載與引入

下載

github下載。

npm下載:

1
npm install --save sweetalert2

引入

1
2
3
4
5
<link rel="stylesheet" href="sweetalert2/dist/sweetalert2.min.css">
<script src="sweetalert2/dist/sweetalert2.min.js"></script>

<!-- BY CDN -->
<script src="https://cdn.jsdelivr.net/npm/sweetalert2@latest"></script>

使用

因為個人工作專案都必須要兼容到IE11,因此以下筆記都會用IE11能吃的冗冗語法,幫箭頭語法QQ。

IE 支援

官方說明中有提到,因有用到Promise,預設是不支援IE的,但可以透過Promisepolyfill在IE上正常運作。

CDN:

1
<script src="https://cdn.jsdelivr.net/npm/promise-polyfill@7.1.0/dist/promise.min.js"></script>

個人只有測到IE11,往下IE版本就沒試過了。

Button 按鈕處理

confirm(確認)

預設會有一顆confirm(確認)按鈕,顯示文字會是OK。

點擊confirm按鈕會使result.isConfirmedtrue,並回傳result.value

deny(否定)

confirm是確認按鈕,但有時候會有要同時要顯示確認和否定按鈕的情況,這時候可以把deny(否定)按鈕叫出來用。

點擊deny按鈕會使result.isDeniedtrue,並回傳result.value

dismiss(撤銷)

點擊取消按鈕(cancelButton)、點擊關閉按鈕(closeButton)、點擊sweetalert2背景(預設)、按下鍵盤esc、定時器時間到達都會使result.isDismissedtrue,並回傳用以記錄撤銷動作的result.dismiss(像是預設點擊背景的撤銷動作為被紀錄為backdrop)。

按鈕設置

基本上,按鈕的設置方法都差不多,就是換按鈕名稱而已。

1
2
3
4
5
6
7
8
9
10
11
12
13
14
15
16
17
18
19
20
21
22
23
Swal.fire({
  title: '<strong>HTML <u>example</u></strong>',
  icon: 'info',
  html: '',
  showCloseButton: true, // 預設顯示在右上角的關閉按鈕

  showConfirmButton: true, // 確認按鈕(預設會顯示不用設定)
  confirmButtonText: '參加活動', // 按鈕顯示文字
  confirmButtonAriaLabel: '參加活動', // 網頁無障礙用
  confirmButtonColor: '#3085d6', // 修改按鈕色碼

  // 使用同確認按鈕
  showDenyButton: true, // 否定按鈕
  showCancelButton: true, // 取消按鈕

  // 自訂按鈕 class
  customClass: {
    confirmButton: 'btn btn-success',
    cancelButton: 'btn btn-danger'
  },
  buttonsStyling: false, // 是否使用sweetalert按鈕樣式(預設為true)

});

簡易輸入驗證 inputValidator

重點參數:inputValidator

1
2
3
4
5
6
7
8
9
10
11
12
13
14
15
16
17
18
19
20
21
22
23
24
25
26
27
28
29
30
31
32
33
Swal.fire({
  title: '你的名字?',
  input: 'text',
  inputPlaceholder: '請輸入你的名字', // placeholder,若「input: 'select'」則為空選項顯示文字
  inputValidator: function(value){
    return new Promise(function(resolve){
      if (value === '美女'){
        resolve();
      }else{
        resolve('請輸入「美女」');
      }
    });
  }
}).then(function(result){
  console.log(result.value);
  // result.value 為 '美女'
});

// 或
Swal.fire({
  title: '你的名字?',
  input: 'text',
  inputPlaceholder: '請輸入你的名字',
  inputValidator: function(value){
    if(value !== '美女'){
      return '請輸入「美女」';
    }
  }
}).then(function(result){
  console.log(result.value);
  // result.value 為 '美女'
});

自訂回傳值(自訂回傳值、多輸入格)加上驗證

重點參數:preConfirm

1
2
3
4
5
6
7
8
9
10
11
12
13
14
15
16
17
18
19
20
21
22
23
24
Swal.fire({
  title: '你的名字?',
  icon: 'info',
  html:
    '<label for="swal-input1">姓氏</label><input id="swal-input1" class="swal2-input">' +
    '<label for="swal-input2">名字</label><input id="swal-input2" class="swal2-input">',
  preConfirm: function(){
    var val1 = document.getElementById('swal-input1').value,
        val2 = document.getElementById('swal-input2').value;
    if(val1 === ''){
      Swal.showValidationMessage('請輸入姓氏');
    }else if(val2 === ''){
      Swal.showValidationMessage('請輸入名字');
    }else{
      return [
        val1,
        val2
      ]
    }
  }
}).then(function(result){
  console.log(result.value);
  // result.value 為 ['姓氏字串', '名字字串']
});

自訂項目的事件綁定

重點參數:didRender

1
2
3
4
5
6
7
8
9
10
11
12
Swal.fire({
  title: '抽優惠卷!',
  html:
    '<button type="button" id="btn-coupon">點我看抽獎結果!</button>'+
    '<div id="result"></div>',
  didRender: function(){
    $('#btn-coupon').on('click', function(){
      $('#result').text('銘謝惠顧');
    });
  },
  confirmButtonText: '前往購物網站'
});

以伺服器端(SSR)HTML設置

使用<template>,詳細設置可見官網的「DECLARATIVE TEMPLATES AND DECLARATIVE TRIGGERING」區塊。

HTML:

1
2
3
4
5
6
7
<template id="my-template">
  <swal-title>標題啦啦啦</swal-title>
  <swal-icon type="warning" color="red"></swal-icon>
  <swal-button type="confirm">儲存</swal-button>
  <swal-button type="cancel">取消</swal-button>
  <swal-param name="allowEscapeKey" value="false" />
</template>

以JS綁定模板:

1
2
3
Swal.fire({
  template: '#my-template'
});

以HTML綁定模板:

1
2
3
<button data-swal-template="#my-template">
  顯示視窗
</button>